Hey, folks! So, a lot of you have been asking me about soil testing, and I totally get where you’re coming from.
As someone who’s super into gardening, I’m all about making sure my green buddies thrive.
You know, when I was researching how to keep plants healthy, I realized that providing the right soil is like the first big step in gardening or farming. It’s kind of a big deal, you know?
But here’s the thing! how do you even figure out what kind of soil you’ve got?
Well, it all starts with knowing your soil type, my friends. That’s like the basic building block for making any changes you need.
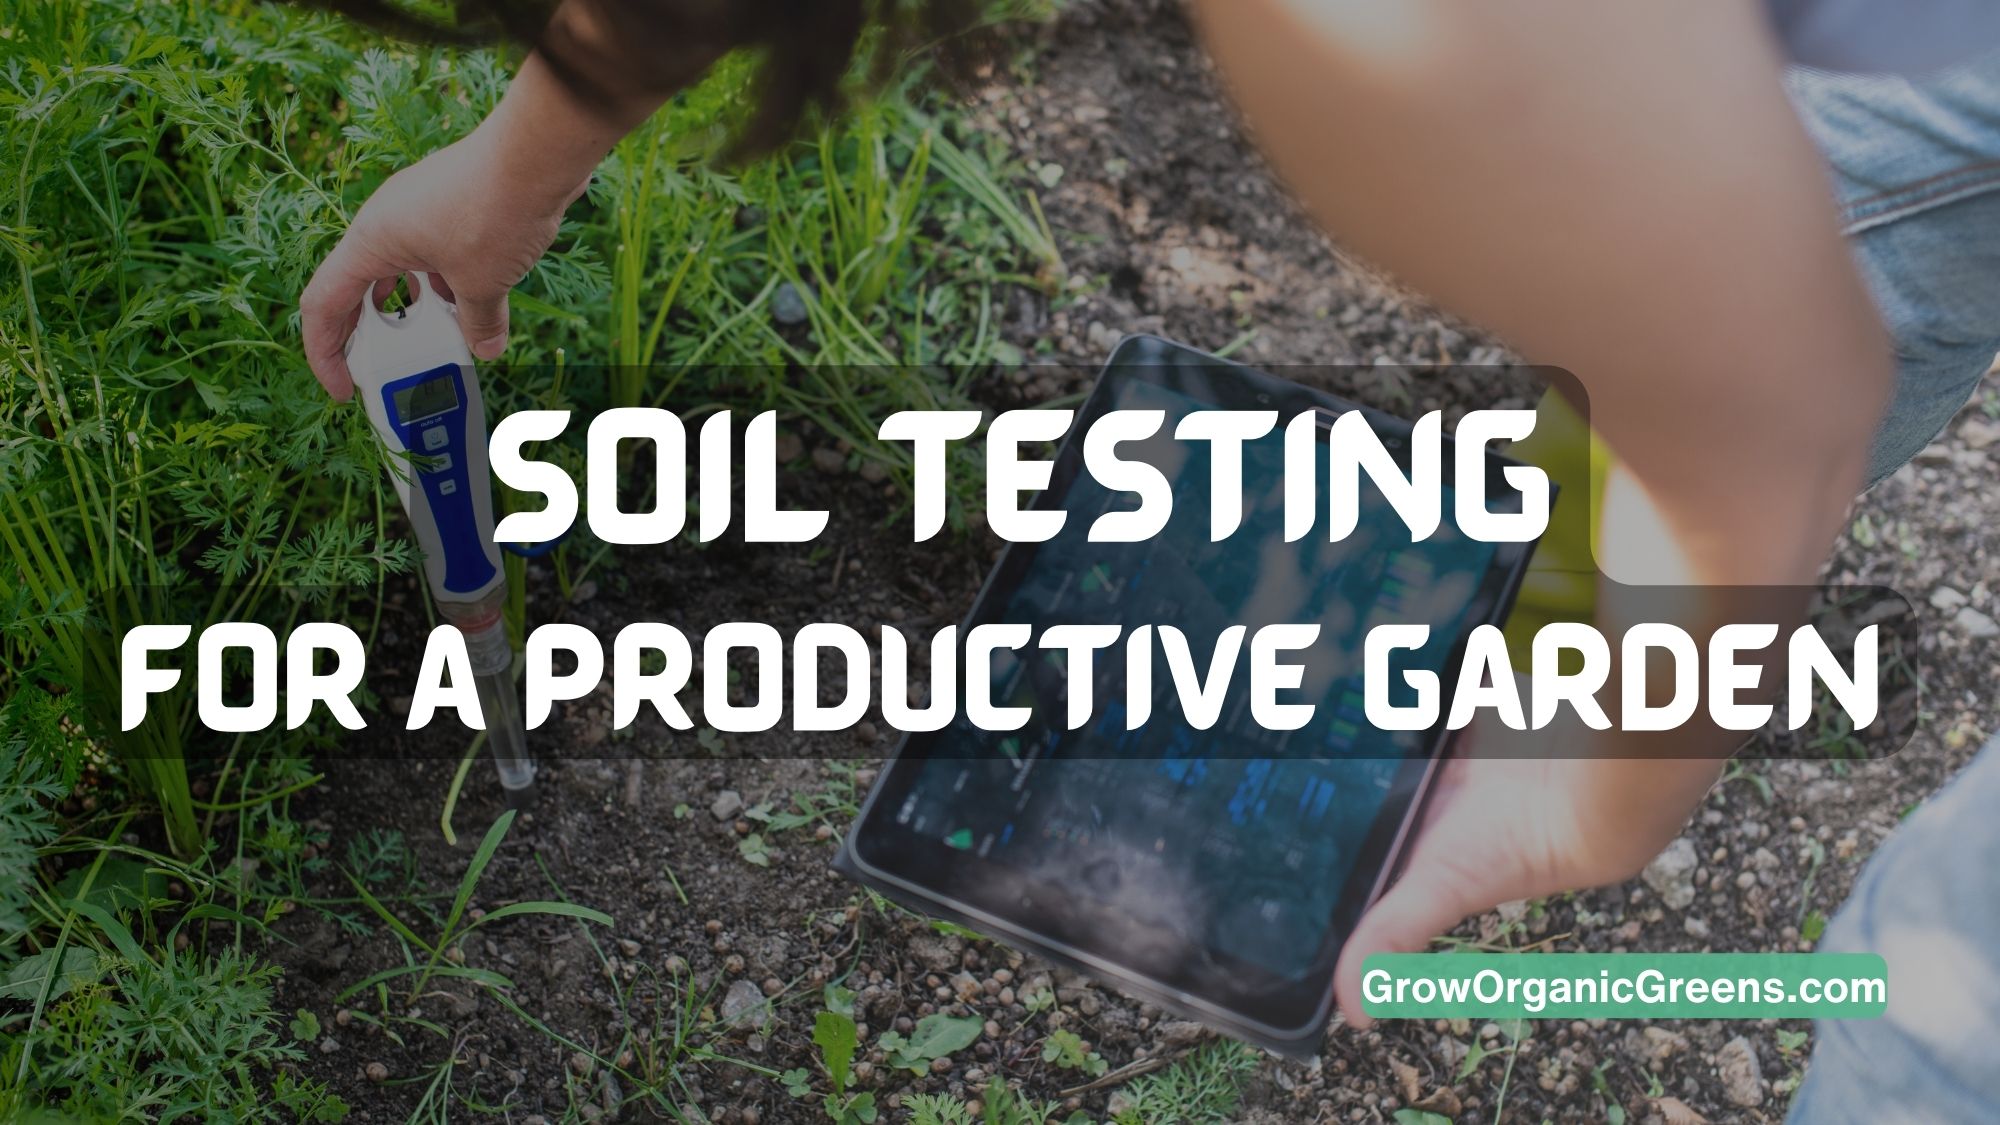
That’s where soil tests come in. They’re the secret sauce to optimize plant growth, boost your yields, and even help the environment.
In this article, I’m gonna spill the beans and share some super valuable insights about understanding soil composition, quality, nutrient content, pH levels, texture, and structure.
With this knowledge, you’ll have the power to make smart decisions about soil amendments, fertilizers, and all that good stuff. So, guys, let’s get down and dirty and learn how to test the soil in your garden. Trust me, it’s gonna be a fun and educational adventure!
Why Test Your Soil?
Testing your soil serves multiple purposes.
Helps to identify the nutrient deficiency:
It helps identify nutrient deficiencies or excesses, allowing you to tailor your fertilization approach to meet the specific needs of your plants.
Test the pH level:
Soil tests provide information about pH levels, which play a crucial role in nutrient availability and plant health.

Analyze the soil structure:
Analyzing soil texture and structure helps determine water retention and drainage capabilities, influencing irrigation and plant health.
How to Test Soil:
Soil testing is a process of analyzing your soil to determine its fertility, pH, and other characteristics. This information can help you to improve the quality of your soil and grow healthier plants.
Factors that you must have to check at the time of soil testing:
When conducting soil testing, several factors demand your attention.
Soil pH:
Soil pH plays a crucial role in determining nutrient availability and plant health.
Presence of micro and macronutrients:
It’s essential to assess the presence of micro and macronutrients, as they directly influence crop growth and development.
Presence of organic matter:
The evaluation of organic matter content helps gauge soil fertility and its capacity to retain water and nutrients.
Proper consideration of these factors ensures effective soil management and optimal agricultural productivity.
Types of soil testing:
There are two main types of soil testing: at-home soil testing and professional soil testing. At-home soil testing is a simple and affordable way to get a general idea of the condition of your soil. Professional soil testing is more accurate, but it is also more expensive
At-home soil testing:
You can get at-home soil testing kits from both local markets and online retailers.
These kits typically include a soil sample collector, a test solution, and instructions on how to perform the test.
To perform an at-home soil test, you have to collect a soil sample from your garden. The sample should be taken from an area where you plan to grow plants. Once you have collected the sample, you will need to follow the instructions in the kit to perform the test.
The results of an at-home soil test will tell you the pH of your soil, the level of nutrients in your soil, and the presence of any harmful substances.
This information can help you to determine what modifications you need to add to your soil to improve its fertility.

How to do at-home soil testing:
Step 1: Gather the at-home soil testing materials:
To do an at-home soil test, we need the following materials:
i) A soil sample collector
ii) A test solution
iii) Instructions
Step 2: Collection of soil sample:
To collect a soil sample, you will need to dig down about 6 inches into the soil. The sample should be taken from an area where you plan to grow plants.
Once you have collected the sample, place it in a clean container.
Step 3: Perform the test:
To perform the test, follow the instructions in the kit. The instructions will vary depending on the type of test kit you are using.
Step 4: Interpret the results:
Once you have performed the test, you will need to interpret the results. The instructions in the kit will tell you how to interpret the results.
Professional soil testing:
Professional soil testing is done by a laboratory. The laboratory will analyze your soil for a variety of factors, including pH, nutrients, organic matter, and drainage.
To get professional soil testing done, you will need to contact a soil testing laboratory and order a test. The laboratory will provide you with instructions on how to collect a soil sample and send it to them.
The results of a professional soil test will be more accurate than the results of an at-home soil test. However, professional soil testing is also more expensive.
How to get professional soil testing done:
Step 1: Find a reputable soil testing lab:
There are many soil testing labs available in your locality. Contact the most reputable one to perform the soil test of your garden.
Step 2: Order a soil test:
Once you have found a reputable lab, you can order a soil test. The lab will provide you with instructions on how to collect a soil sample and send it to them.

Step 3: Collection of soil sample:
To collect a soil sample, you will need to dig down about 6 inches into the soil. The sample should be taken from an area where you plan to grow plants.
Once you have collected the sample, place it in a clean container.
Step 4: Send your sample to the lab:
Once you have collected your soil sample, package it carefully and send it to the lab.
Step 5: Receive your results:
The lab will analyze your soil sample and send you the results. The results will tell you the pH of your soil, the level of nutrients in your soil, and the presence of any harmful substances.
Step-By-Step Process For Modification Of Soil Structure
Modifying your soil is a step-by-step process that involves careful analysis and targeted adjustments.
Step 1: Soil Testing:
Begin by conducting a soil test to determine its current condition. Test for pH levels, nutrient content, and organic matter. This analysis will guide your modifications.
Step 2: Determine pH Levels:
Based on the soil test results, identify if your soil is acidic, neutral, or alkaline. Adjust the pH to the desired range for your specific plants or crops. Add lime to raise pH for acidic soil or sulfur to lower pH for alkaline soil.
Step 3: Organic Matter Addition:
Assess the organic matter content in your soil. If it’s insufficient, incorporate organic materials like compost, leaf litter, or well-rotted manure. This enhances soil structure, water retention, and nutrient availability.
Step 4: Nutrient Management:
Analyze the nutrient levels in your soil. Based on the results, apply fertilizers or organic amendments to address deficiencies. Use a balanced fertilizer or specific formulations for targeted nutrient requirements.

Step 5: Soil Texture Improvement:
Address soil texture issues, such as sandy or clayey soil. Add organic matter to improve moisture retention in sandy soil or incorporate sand or gypsum to enhance drainage in clayey soil.
Step 6: Soil Aeration:
Enhance soil aeration by incorporating organic matter or using aeration tools like aerators or spading forks. This improves root penetration and overall soil health.
Step 7: Water Management:
Consider the drainage capacity of your soil. If it retains water excessively, amend it with materials like gravel or organic matter to improve drainage. Conversely, if it drains too quickly, add organic matter to enhance water retention.

Step 8: Maintenance and Monitoring:
Regularly monitor soil conditions and make necessary adjustments over time. It’s important to reassess the soil periodically, especially before each planting season.
Remember, modifying soil is a gradual process, and it’s crucial to observe changes over time. Implementing these steps will help you create a healthy and productive soil environment for your plants or crops.
Common Mistakes At The Time Of Modification Of The Soil
While modifying soil is an essential practice for optimal plant growth, it’s crucial to avoid common mistakes that can hinder your efforts.
Here are some mistakes to be aware of:
Insufficient Soil Testing:
Neglecting to conduct a comprehensive soil test can lead to inaccurate modifications. Soil testing provides valuable information about pH levels, nutrient deficiencies, and organic matter content. I strongly recommend not to skip this step as it may result in incorrect adjustments and wasted resources.
Overlooking pH Balance:
Failure to address the pH balance of the soil can severely impact nutrient availability. Different plants thrive in different pH ranges, so it’s crucial to adjust the soil accordingly.
So must consider this step seriously as ignoring pH balance can lead to stunted growth and nutrient deficiencies.
Incorrect Organic Matter Application:
While adding organic matter is beneficial, applying it in excessive quantities or improper forms can cause problems. Overloading the soil with organic matter can lead to nutrient imbalances and waterlogging. I must recommend following the suggested guidelines for the amount of application and using well-composted organic materials.
Neglecting Nutrient Balance:
Applying fertilizers without considering the specific nutrient requirements of the plants can lead to imbalances. Excessive use of synthetic fertilizers can harm the soil ecosystem and contribute to pollution. Understanding the nutrient needs of your plants and using balanced fertilizers or organic amendments is crucial.
Improper Soil Texture Management:
Ignoring soil texture issues, such as excessive clay or sand, can lead to drainage problems and poor root development. It’s important to address these issues by incorporating appropriate amendments to improve soil structure and drainage.
Lack of Monitoring and Maintenance:
Modifying soil is an ongoing process, and neglecting regular monitoring and maintenance can undermine your efforts. As the soil conditions change over time, I must recommend reassessing the soil and adjusting as needed.
By being aware of these common mistakes, you can avoid them and ensure effective soil modification, leading to healthier plants and improved agricultural productivity.

Conclusion and Take Away!
I hope you enjoyed the above discussion on various aspects of “how to test soil” and it amendment methods. If you have any questions let me know in the comment section below.
So what are you waiting for? Bookmark this page for future use and share it with your gardening buddies now!
If you’re curious about other cool farming methods or the best veggies and herbs for your home garden, check out my other articles in the “Related” posts section below and the “Recent Posts” section.
Oh, and if you’re loving this article, then please “Subscribe” to my Email list at the bottom-right of the page. So that you’ll be in the loop when I post more awesome articles like this. Stay tuned!
Ref: You can check out this article as well.

Misty S is the founder and lead writer at GrowOrganicGreens.com, a comprehensive gardening resource dedicated to helping people cultivate beautiful and sustainable gardens. She has a Master’s degree in Economics and specialized studies in agricultural economics, horticulture, and soil science. Drawing from her extensive knowledge and experience, Misty shares practical gardening tips on soil preparation, organic manure composting, fertilizers, plant care, and indoor gardening, making her advice accessible and helpful to gardeners of all levels.
Despite having an high-demanding 9-5 job, Misty dedicates her personal time to researching and exploring various gardening topics. Her keen interest in gardening has grown into a passion, driving her to help new gardeners and anyone interested in starting their gardening journey.
Follow Misty’s work and the latest gardening insights and updates on Pinterest. You can reach out to Misty at mistysblogging@gmail.com.